
Preparing Your Lawn Mower For the Summer Heat
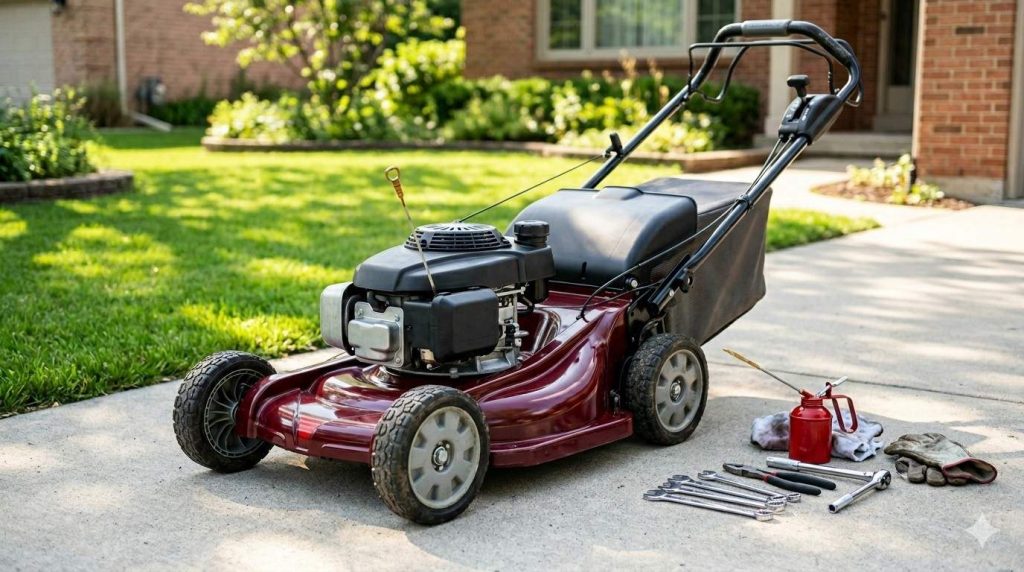 |
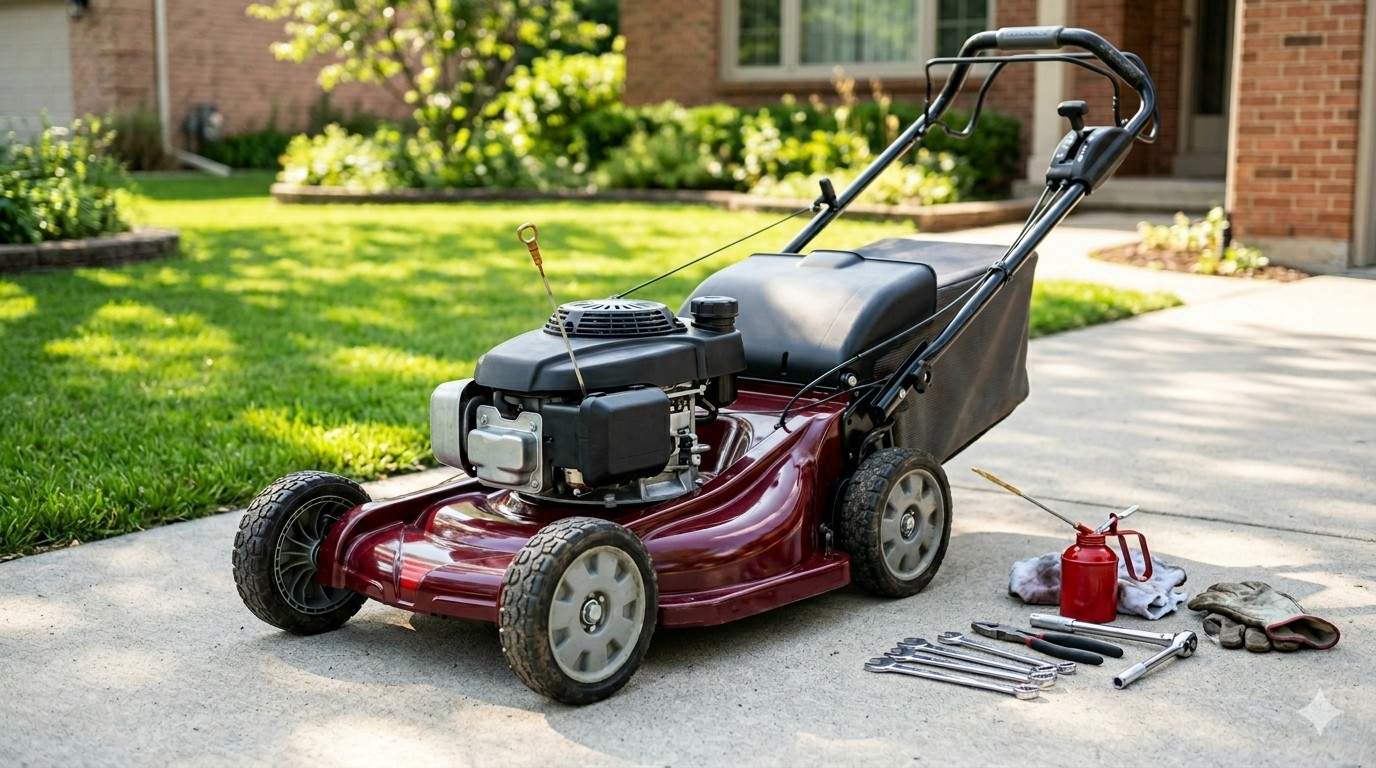
To get your lawn mower ready for summer, you must disconnect the spark plug boot, thoroughly drain stale winter fuel from the tank, change the engine crankcase oil, replace or clean dirty air filter elements, and sharpen and balance the cutting blades. If that sounds like a lot, that’s because it is! As spring gives way to the intense heat and high-humidity days of a Virginia summer, your lawn enters its fastest, thickest growth cycle of the year. Pulling a mower straight out of winter storage and running it across tall grass without proper preparation is a recipe for all kinds of damage. Whether you manage multi-acre commercial grounds or a manicured backyard, executing a thorough tune-up ensures your machine runs smoothly all summer long: |
Tips Before Starting
Before turning a single bolt, it helps to understand why small engines suffer when left sitting unused over the winter months. Unlike cars, standard outdoor power equipment utilizes a highly simplified fuel and cooling system that is sensitive to environmental degradation.
- Ethanol and Phase Separation: Most regular pump gas contains up to 10% ethanol (E10). Ethanol is highly hygroscopic, meaning it actively absorbs moisture from the surrounding air. Over the winter, this water-laden fuel undergoes phase separation, settling to the bottom of your tank as a corrosive fluid that rusts iron and oxidizes aluminum carburetor bowls.
- Thermal Limitations of Air-Cooled Engines: Most lawn mowers do not have liquid radiators. They rely on clean air blowing past metallic cooling fins on the engine block. If old oil loses its viscosity, or if grass debris clogs those cooling fins, engine operating temperatures skyrocket dramatically and cause severe wear.
- Aerodynamic Airflow Dynamics: A mower blade does not simply slice grass by way of blunt force. The back edge features a curved wing tip designed to generate an upward vacuum. This pulls the grass blades upright so the edge can shear them smoothly.
Preparing Your Mower, Step-by-Step:
-
Safety First
Before placing your hands anywhere near the blade, you have to prevent accidental ignition. If an engine’s piston happens to sit right at the top of its compression stroke, turning the blade manually by hand can compress the cylinder enough to spark and fire the engine spontaneously! Physically pop the rubber spark plug wire off the tip of the spark plug and tuck it away securely to avoid any contact.
-
Purge the Tank and Evacuate Stale Gas
If fuel sat in the mower all winter without a stabilizer, it is likely stale and un-executable. Use an inline siphon pump to completely drain the tank into a fuel-safe container. Look inside the tank with a flashlight to verify there is no sticky, gummy residue. Refill the tank with fresh, clean fuel and a high-quality fuel stabilizer.
-
Drain and Renew Your Engine’s Oil
Old oil holds suspended carbon ash and acidic combustion byproducts that wear down your engine’s bearings! Run your mower for two (ish) minutes to warm up the fluid, making it less viscous so it flows out easily.
Then, turn the engine off, place an oil pan beneath the unit, and tilt the mower on its side to drain the oil completely out of the fill neck. (Always make sure the air filter side faces up when tilting to avoid saturating the paper filter with oil).
-
Service the Air Intake and Replace Filtration
An engine choked for fresh air runs an over-rich fuel mixture, which fouls the spark plug, creates black smoke, and drops your total cutting torque!
Pop open the air filter cover. Hold paper filters up to a bright light; if the paper elements look completely blocked or dark, throw the filter away and install a fresh factory replacement. If your mower features a foam filter element, wash it thoroughly in warm, soapy water, squeeze it dry, apply a tiny drop of clean engine oil to help trap dust, and reinstall it.
-
Sharpen and Balance Your Blades
Carefully tip the mower to access the under-deck area. Clamp a wooden block inside the deck to jam the blade safely, then use a heavy socket wrench to remove the center blade bolt. Secure the blade inside a bench vise and use a mill bastard file or an angle grinder to recreate a clean 30-degree cutting edge.
Once sharpened, place the center hole of the blade onto a cone balancer. If one side dips lower than the other, grind a tiny bit of metal off the trailing edge of the heavy side until it rests perfectly level!
-
Scrape and Clean the Under-Deck Venturi Chamber
With the blade removed, take a heavy-duty putty knife and scrape away the thick layers of dried grass clippings stuck to the bottom of the cutting deck. Caked-on grass disrupts the airflow needed to bag or discharge clippings smoothly, causing unsightly grass clumps across your lawn.
It also holds moisture, which accelerates deck rust. Scrape it down to bare metal and apply a thin layer of silicone or graphite spray to prevent future clipping buildup.
Miller’s Ace Hardware Can Make it Happen!
If your current mower is beyond repair, or if you are ready to upgrade to commercial-grade power that slashes your weekly cutting time in half, the top destination in Virginia is Miller’s Ace Hardware. Big-box retail chains sell downgraded models with minimal support, but Miller’s offers an elite selection of equipment backed by unmatched local expertise!
Miller’s is an authorized dealer for the world’s most reliable commercial equipment brands, carrying heavy-duty walk-behinds and zero-turns from Ariens, Gravely, and Wright; with flexible financing plans tailored to fit residential budgets or commercial company cash flows, it’s hard to go wrong at our 208 Centre Drive, Stephens City, VA 22655, location!
Don’t let a sluggish lawn mower ruin your yard’s health or stall your weekend plans. Get your equipment running at absolute peak performance or step up to a professional commercial-grade zero-turn before the summer heat arrives. Call Now!