
Easily Cleaning Your Mower’s Carburetor Without Removal
Small engine carburetors function on strict fluid dynamics, mixing air and fuel at precise ratios (typically around 14.7:1 by weight). On a related note, modern pump gas contains up to 10% ethanol (E10), which is highly hygroscopic.
This means the gas actively absorbs water vapor from our humid Virginia air. In no time at all, phase separation occurs: the water and ethanol settle at the bottom of your mower’s fuel tank and form an acidic varnish inside the carburetor. If that sounds bad, that’s because it is!
Before attempting to clean that out, you must first figure out whether or not the component can be saved in place. Check out these key notes to know prior to the process:
- Symptoms of Minor Blockages (Treatable Without Removal): Your engine starts but immediately “surges” or jumps up and down in RPM. Additionally, your mower may run cleanly only when the choke lever is partially engaged and/or the engine stalls exclusively when hitting patches of tall grass.
- Symptoms of Catastrophic Failure (Requires Replacement): Thick varnish leaking out of the throat gaskets, heavy white corrosion or rust visible inside the intake, and fuel actively dripping into the engine oil crankcase are all telling signs of irreversible damage.
- The Chemistry of Cleaners: Commercial carb sprays utilize heavy solvents including acetone, toluene, and methyl ethyl ketone (MEK), which strip away petroleum-based gums instantly. The catch is, these require extreme caution, as they can degrade rubber seals if left to puddle inside the component.
Cleaning Your Carburetor, Step-by-Step
Follow our expert guide to clean your carburetor while keeping it fully bolted to the engine block.
-
Strict Safety Controls
Park your mower on a flat, level surface and pull the spark plug wire entirely away from the terminal to prevent accidentally igniting your engine. Make sure the exhaust muffler is totally cool to the touch, too, as spraying chemical solvents onto a hot surface creates an immediate flash-fire hazard. Also, work in a well-ventilated outdoor setting to avoid breathing dangerous chemicals.
-
Remove the Air Filter Assembly
Unscrew the plastic outer air filter cover and carefully extract the paper or foam filter – then, check the filter carefully: if it’s clogged with dirt or soaked in oil, it will restrict air intake, worsening your carburetor issues. Store the clean element away from your work area to prevent any chemical overspray from harming it.
-
Clean the Exterior Mechanisms
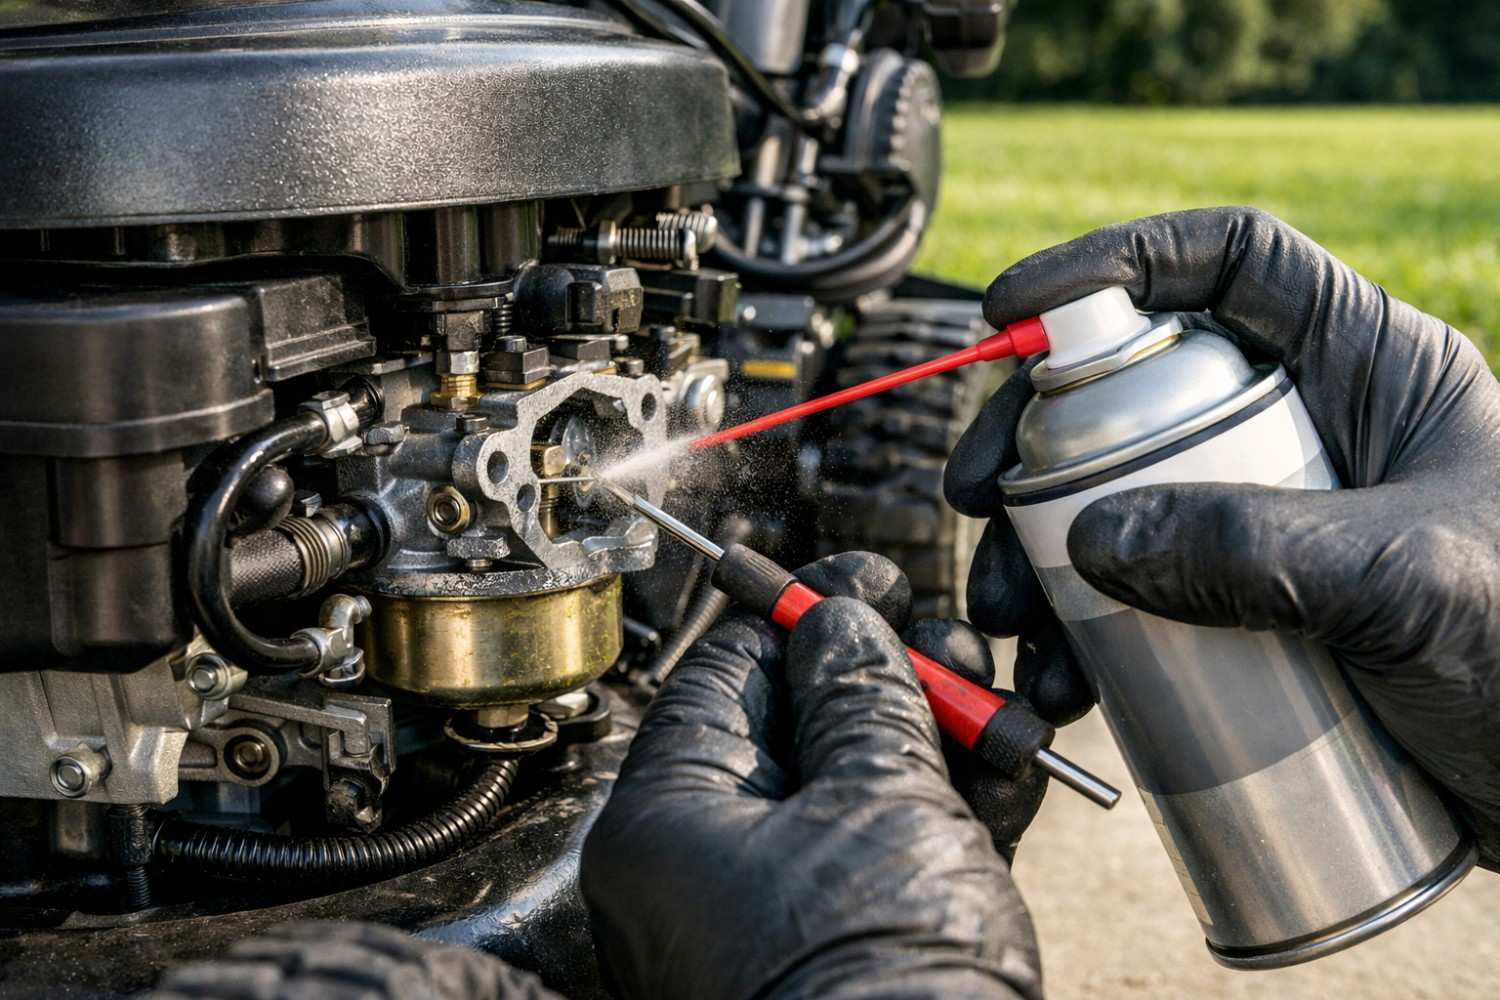
With the air box removed, you can now see the exterior linkage bars and springs controlling the choke and throttle plates. Spray these moving parts thoroughly with carburetor cleaner and wipe them clean with a lint-free cloth.
-
Clean the Throat and Internal Jets
Insert a thin straw adapter directly into the nozzle of your carburetor cleaner. Look inside the throat of the carburetor to locate the main venturi opening. Manually push open the choke valve, insert the straw deeply, and apply several short blasts of cleaner. Locate any exposed internal jets or tiny air bleed holes around the perimeter of the throat entrance and spray directly into them to dislodge micro-sediment as well.
-
Flush the Float Bowl (If Equipped)
Many modern carburetors feature a small hex-head drain bolt situated at an angle near the bottom of the fuel bowl. In this case, place a shallow catch pan directly underneath the bowl and loosen the bolt two full turns. Allow a small amount of raw fuel to drain out. This flushes away water droplets and heavy sediment that have settled at the bottom. Tighten the drain plug securely once the fuel runs completely clear.
-
Evaporate Chemical Residue and Re-test
Allow the remaining chemical solvent to sit inside the carburetor passages for 10 or so minutes to finish breaking down that hardened varnish. Reattach your spark plug wire (leaving the air filter off temporarily). Set the throttle to high and pull the starter cord. The engine may smoke or run unevenly for the first 30 seconds as it consumes and burns off the chemical solvents. Don’t panic! Once the idle smooths out, reinstall your air filter and outer cover.
Miller Ace is Your Ultimate Local Expert
When localized maintenance and adjustments fail to bring your lawn mower back to full power, it may be a sign that your equipment is reaching the end of its life. Rather than sinking more money into short-term repairs, the definitive answer to all your mowing and equipment problems is Miller Ace Hardware in Stephens City, Virginia!
Not only do we carry industry-leading brands – including Ariens, Gravely, and Wright – but our highly competitive, stress-free financing programs are tailored to your budget, allowing you to buy the right tool today and pay comfortably over time!
Skip the big-box checkout lines and experience dedicated, expert care at our centrally located showroom at 208 Centre Drive, Stephens City, VA 22655. Take advantage of our outstanding financing plans and let our legendary local service team keep you running perfectly all season long! Call us now!